 |
|
|
||||
Scale Model Image Gallery |
||||
| Stage 1 |
Stage 2 |
Stage 3 |
Stage 4 |
Stage 5 |
| Stage
6 |
Stage
7 |
Stage
8 |
Stage
9 |
Stage
10 |
Model built by one35th |
|||
Stage 3 : Preparation
of base, painting, accessories etc. |
|||
|
Step 1 :
Preparation of Base |
Step 4 : Preparation of
Granite Ballast |
||
|
Preparation of Base : |
|||
Step 1.0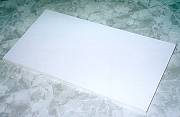 Base size : 950 x 520 x 20 (mm) Without any modification (Discarded shelf) |
Step
1.2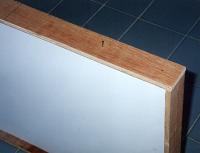 Construction of side skirting on base |
Step
1.3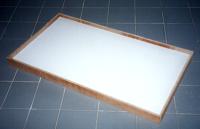 Semi-completed dioramas base without lacquer coating |
|
| Step
1.4 Preparation of Polyurethane varnish (Mahogany) with Thinner, apply onto side skirts. |
Step
1.5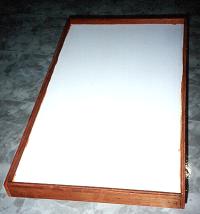 Semi-completed dioramas base after lacquer coating. |
Step
1.6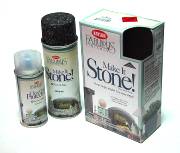 Purchase Textured Paint for Skirting. Kit includes : Stone Coat and Clear coat protector. |
Step
1.7 Pre-spraying preparation : Covered base with newspaper to prevent over spray of paint. |
Step
1.8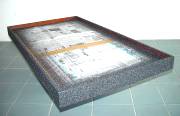 1st layer spray : Textured paint Dry for at least 6 hours 2nd layer spray : Clear coat protector |
Step
1.9 Final Diorama Base |
Step
1.10 Preparation of display "K5 Eisenbahngeschütz" |
|
|
Preparation of Diorama materials : |
|||
Step
2.0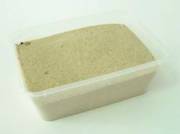 Natural fine sand from beach |
Step
2.1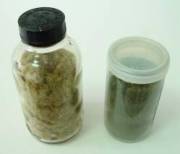 Fine grass type 1 |
Step
2.2
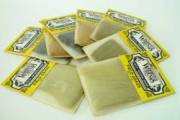 Fine grass type 2 |
Step
2.3
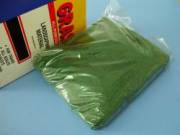 field grass type 3 from Life-Like Trains |
Step
2.4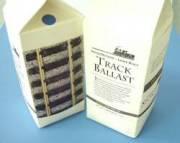 Natural granite (1: 29) from Stoneworks 3 boxes of light gray #2 1 boxes of light gray #1 |
Step
2.5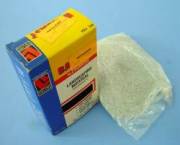 Natural granite (fine) from Life-Like Trains |
Step
2.6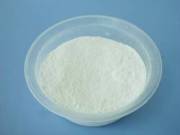
Celluclay |
Step
2.7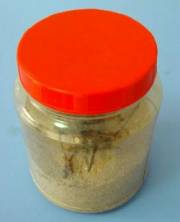 Natural sand and small branches from beach |
|
Preparation of model accessories : |
|||
Step
3.0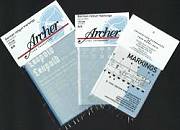 Purchase German rail car and rail gun markings from Archer Fine Transfers |
Step
3.1
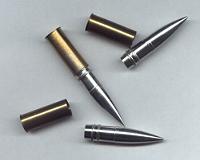 1/35 scaleK5 28cm Projectile from : The New-Connection Models Projectile : Aluminum propellant : brass 3 sets in a bag |
Step
3.2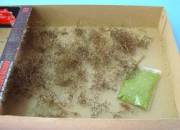 Preparation of Trees |
Step
3.3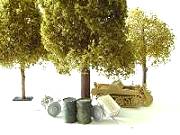 Preparation of Trees |
|
Preparation granite ballast : |
|||
Step
4.0 Preparation and Inspection of natural granite read more on how to lay ballast here. |
Step
4.1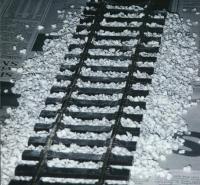 Trial layout of rail track on top of granite looking from the front |
Step
4.2 Trial layout of rail track on top of granite looking from the side |
|
|
Preparation Display Case : |
|||
|
Preparation Ballast onto Diorama Base : |
|||
|
|
|||
| Track Ballast : Ballast pours from container directly in place around the track ties. Use brush for spreading evenly. Will hold track in place while providing drainage to prevent standing water. This will minimize frost heave and helps minimize deterioration with wooden ties. This light gray granite is one of the hardest rocks available. This #2 light colored white and gray granite chip used by many central European lines. Flakes are sharp. Excellent for dioramas. Click here to view more reference photos of rail track examples. |
|
| Click |
© one35th - Last updated on :
Sunday, April 20, 2008 |
|